Cookies and Cream

Guitar is for everyone, music as a whole is an abstruse concept. It take hours and hours of toil, for small improvements. My friend once said to me, “I became a lot better at guitar when I realized there’s always going to be a 14 year old that’s better than me.” Guitar is more than sick riffs and loud shows, guitar is about continuing a proud tradition of artists, artisans, and prophets. Currently a primary constraint for young musicians is the cost of musical gear. This project was an attempt to provide a path for any musician to achieve great sound.

Introducing C&C

a DIY amplifier for emerging musicians

Cookies and Cream (C&C) is for those guitar players that are ready to take the next step from their beginner amp and begin their dive into the guitar pedal ecosystem.

Intended Market

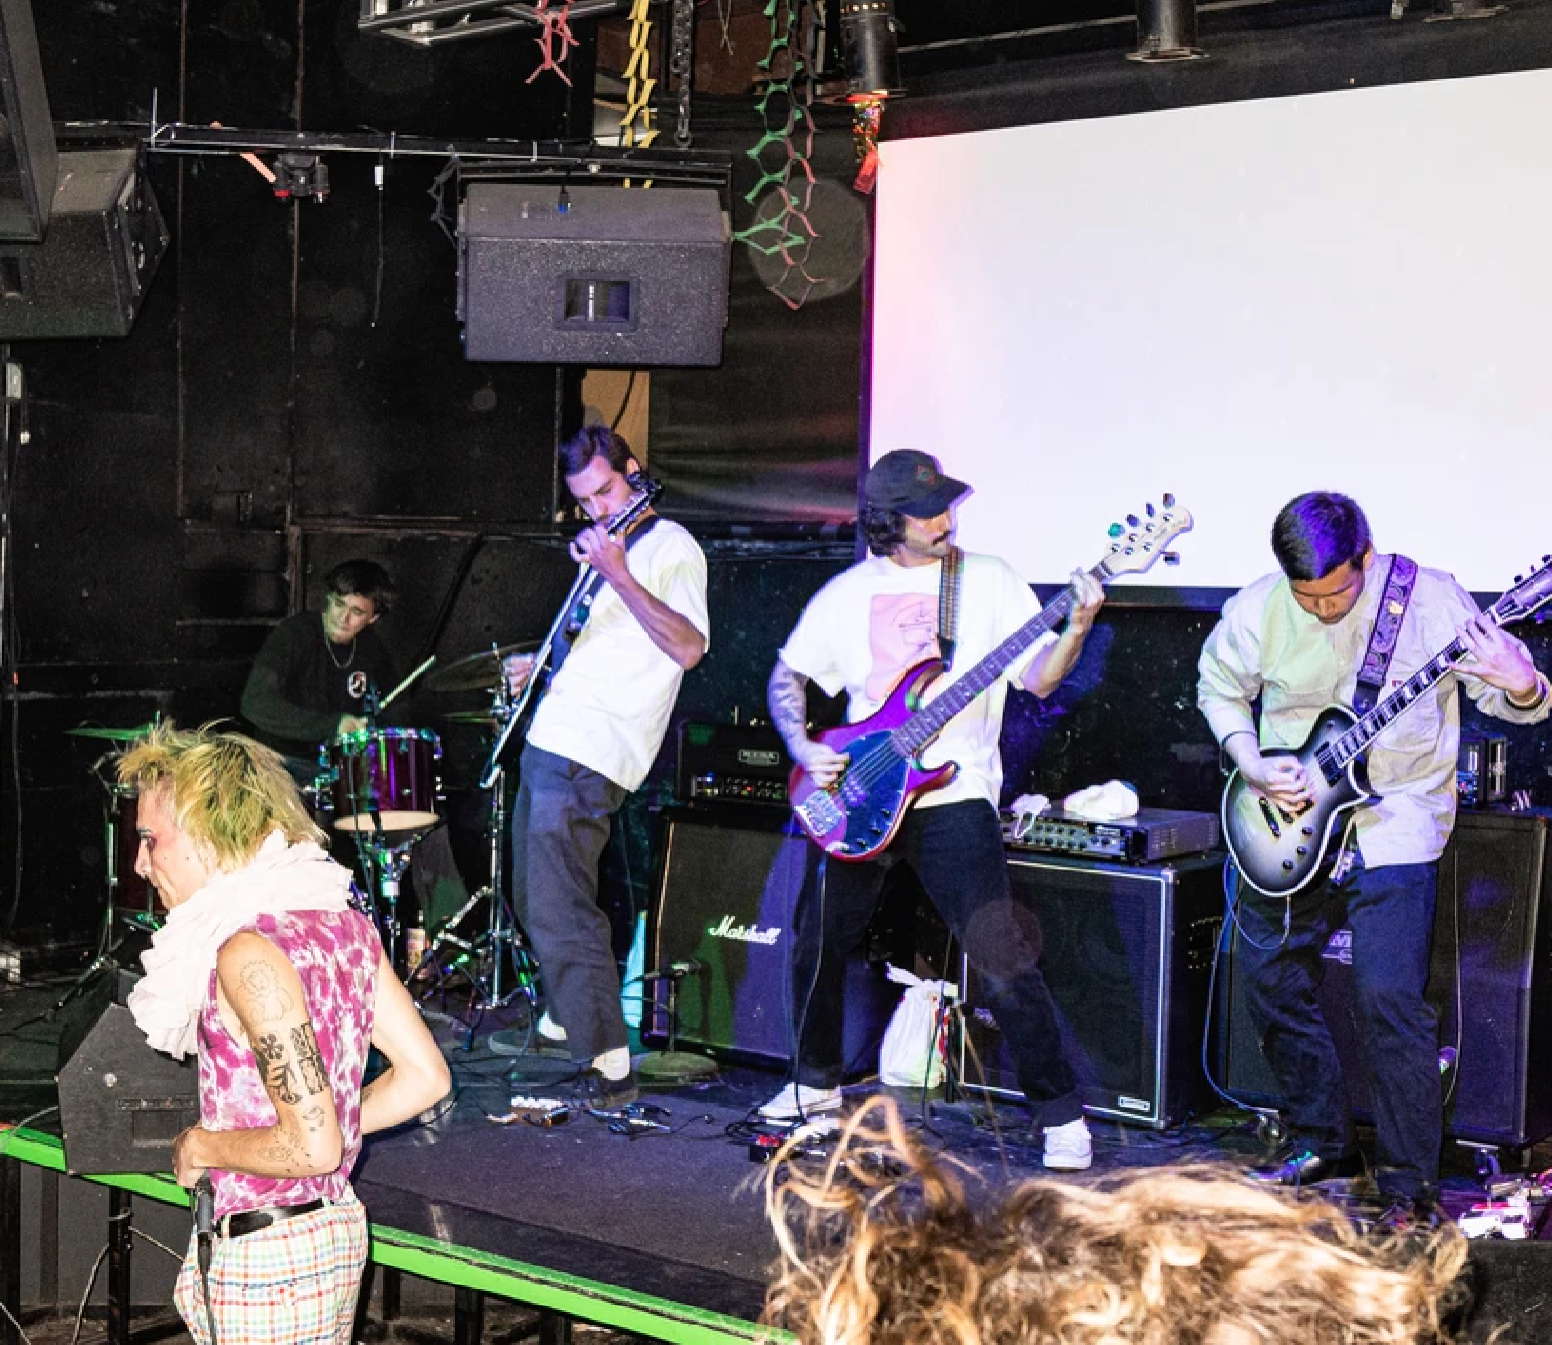
By in large, amplifiers are massive heavy objects that require setup and breakdown before and after the show. In many cases this includes a multitude of guitar pedals and wires connecting each of them. An amplifier that utilizes these high customizability digital softwares doesn’t exist in the mass market.

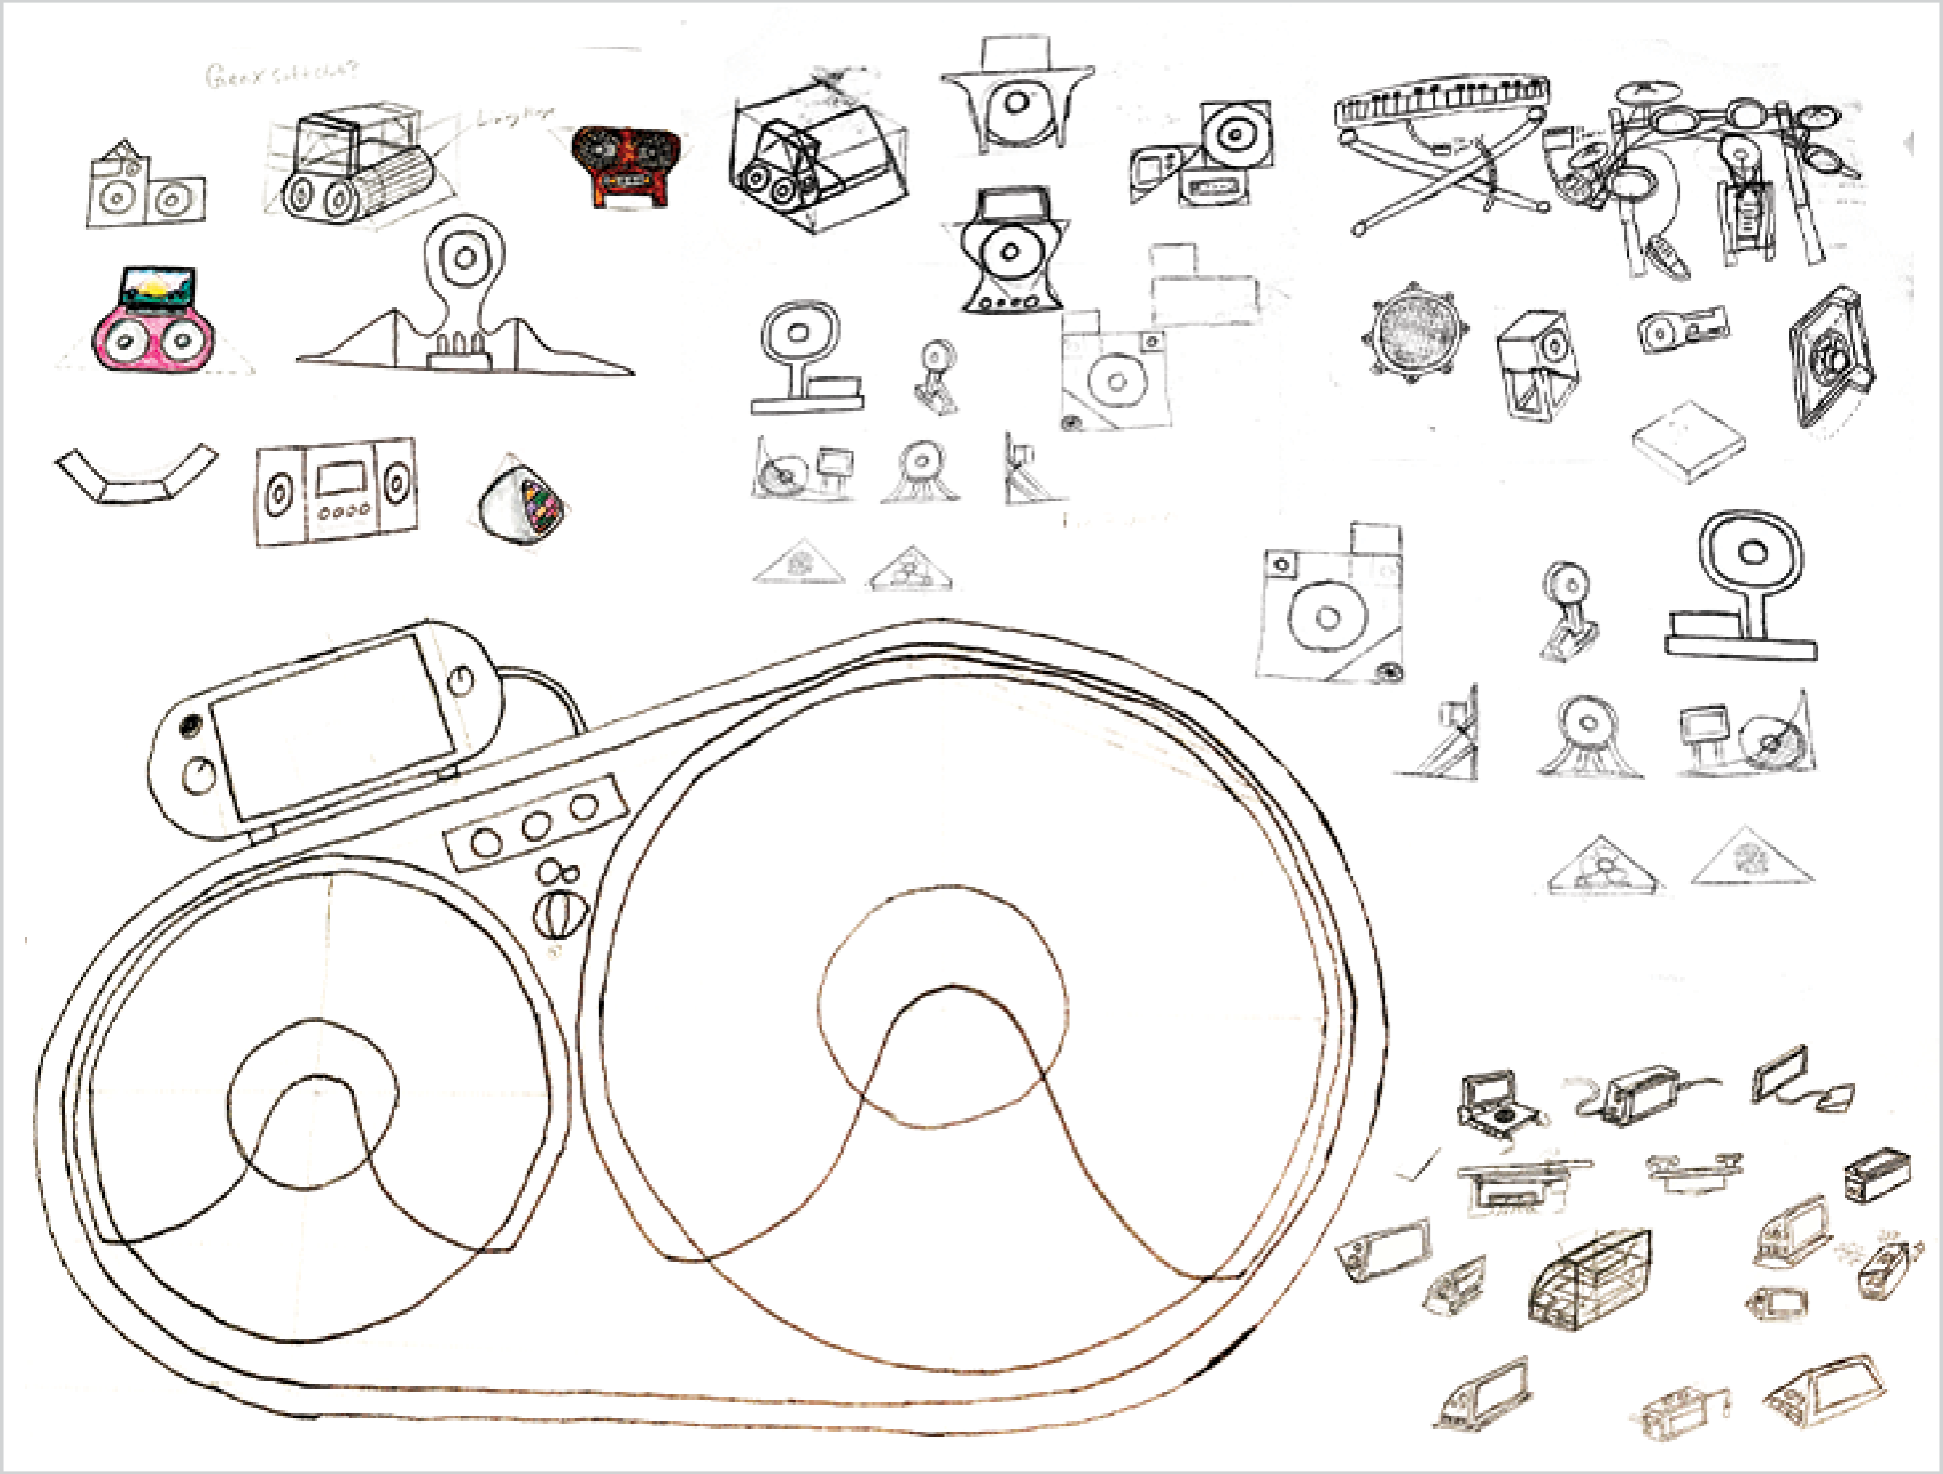
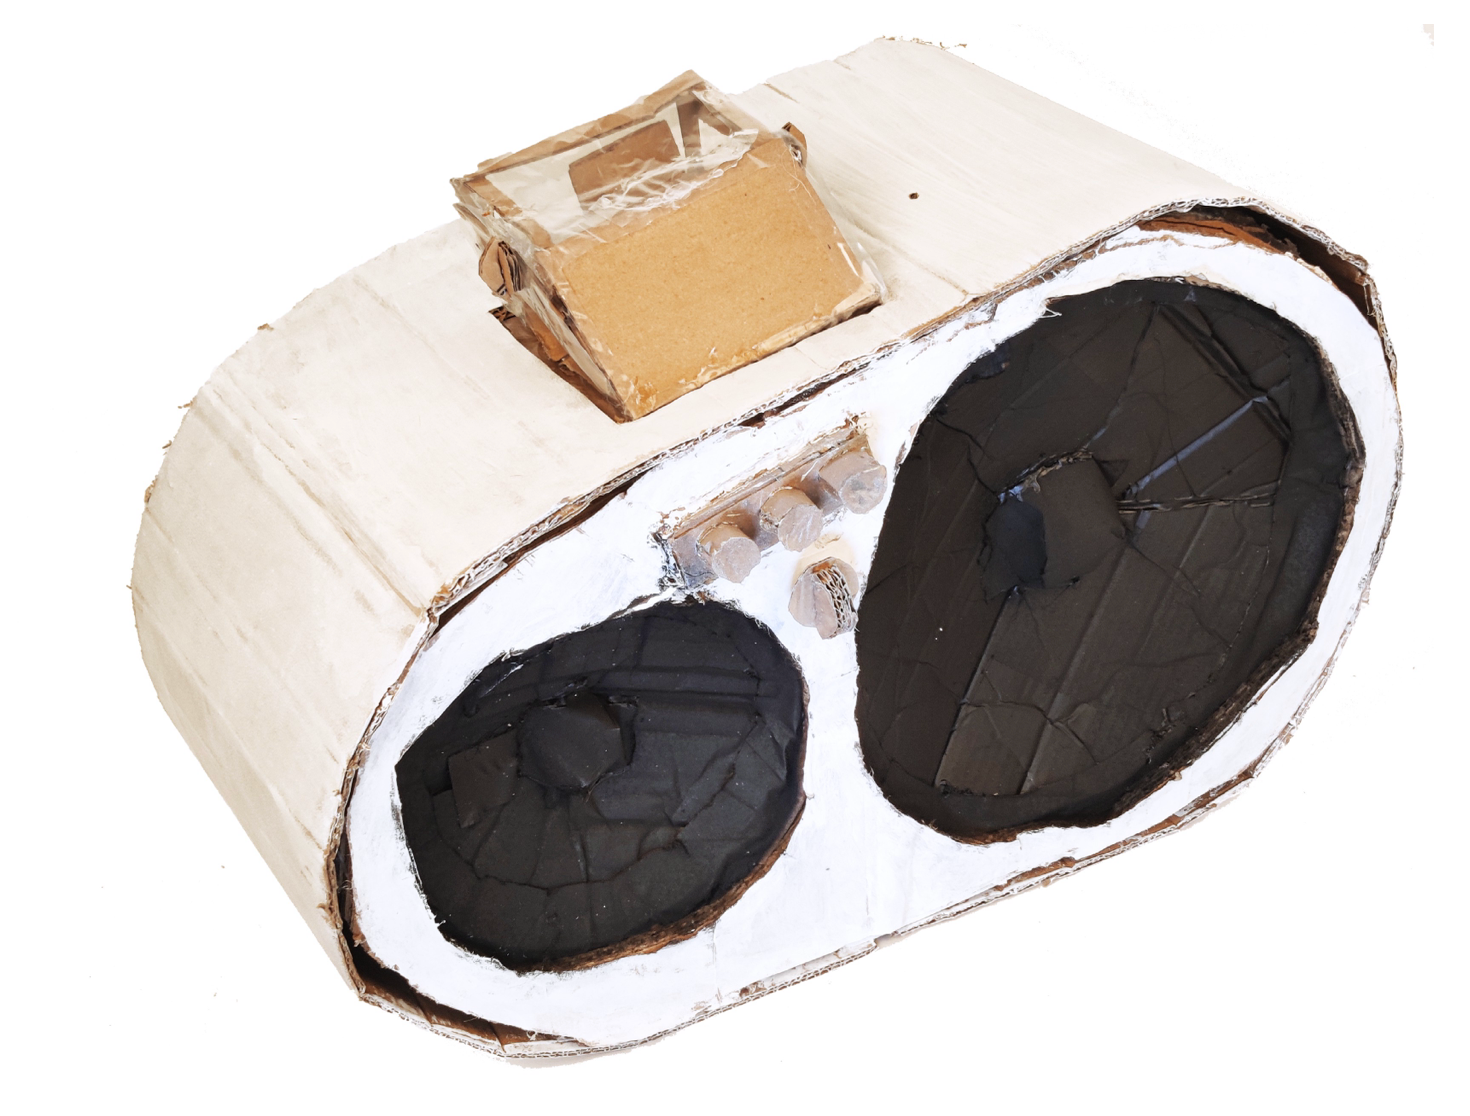
Ideation and concept starts with paper sketches 

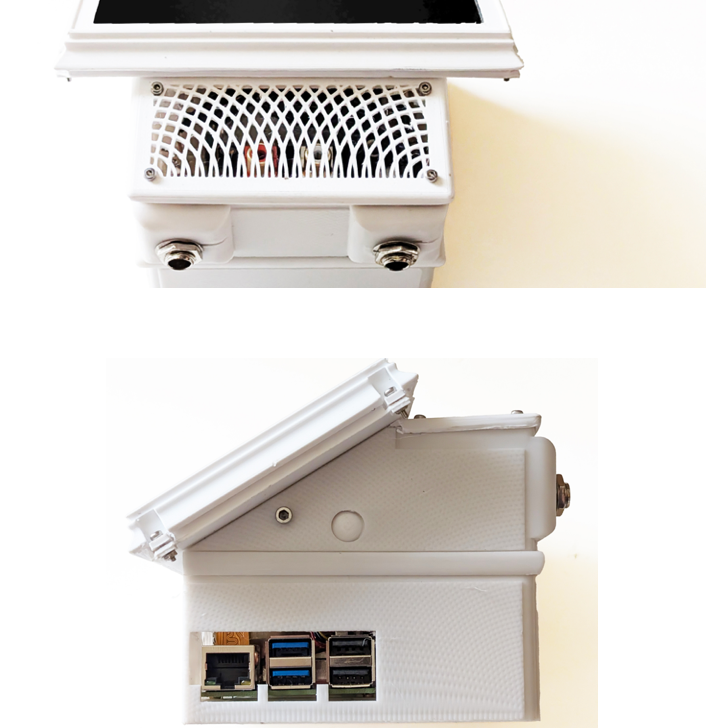
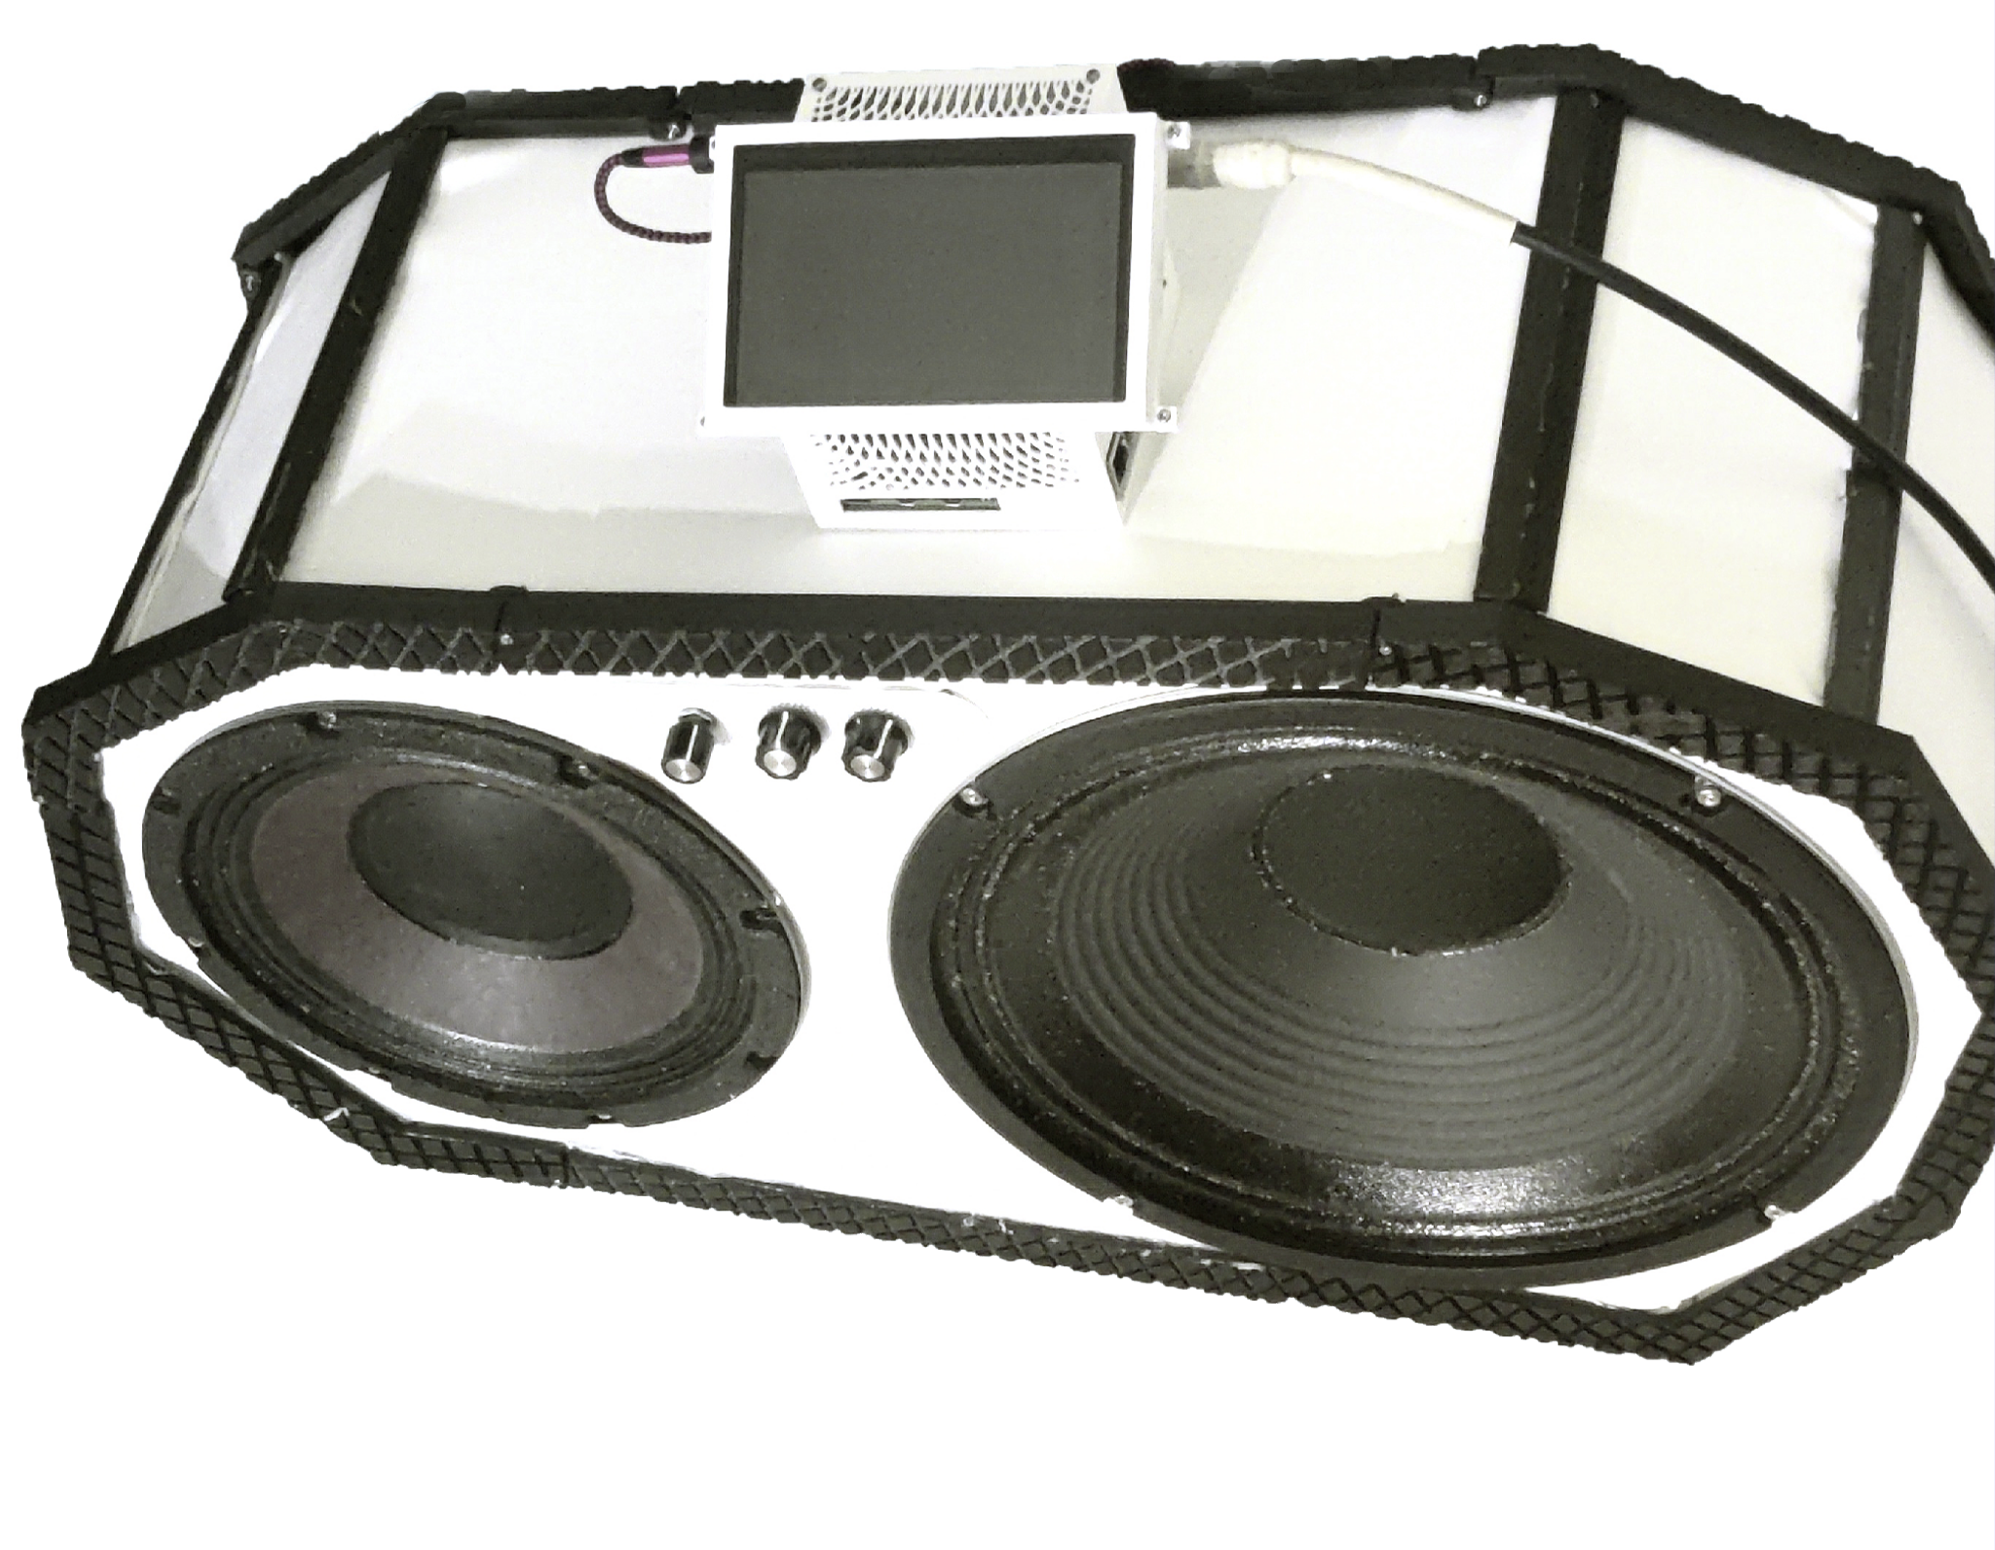
My focus during during concept development: shape and assembly methods Influenced by explorations of forms which begun at 90’s style aesthetics. These designs were centered around the technological requirements of this project. The decision to use 1 guitar and 1 digital speaker in order to produce both the gritty tone that typically comes out of guitar speakers, and the clarity that comes from digital speakers.

White Sketches to Cardboard Model

The build begins! With a paper design locked down, the initial visual prototype highlighted a key issue in manufacturability. Creating a curve in the rigid wood. With steam bending too difficult, and kerf bending too unpredictable. I landed on a solution utilizing a “miter cuts,”resulting the signature polygonal final design.

From Cardboard to Wood Prototype

Dimensioned in Solid Works. Built out of wood.

Process:

  1. Create the frame through 20 degree miter cuts.

  2. Secure frame with hardware

  3. Cut face board using the frame as reference

  4. Cut out speaker and amplifier plate holes

  5. Wrap in artificial leather

Part 2

The Electronics Unit

Render Platform : Blender

Internal Electronics Models From

HIFIBERRY Sound Card : (Product Website)

Cooling Fan : Blender-Kit

Raspberry Pi : Grab Cad Community

From Sketches to 3D-Printed Plastic

Modeled in Solid Works 3D-printed

  1. CAD: Using measurements found on the Raspberry Pi website alongside a digital model procured on the “Grab CAD” community, I created a model to surround the Raspberry Pi 5 in a protective PLA based enclosure.

  2. Airflow. It was paramount to intentionally place inlets and outlets in order to cool every component of the device.

  3. Serviceability. Access to the electronics was important in case the user needs to replace, or upgrade something. 

Finalized Electronics Head Unit

After multiple iterations

  1. Surface - Created an interference pattern on the surface.

  2. Gaps - I introduced overlapping elements

  3. Exposed cable- I altered the cable placement, as well as closing off the exposed area.

Final Prototype

Sample alt text
Return